I’ve had a Logitech G7 wireless mouse for about 3 and a half years. While every other piece of my gaming rig has been replaced and upgraded, I still am lovin this mouse. The sensitivity is great, the weight is nice, and the body is just right. You can even still get new rechargeable batteries for only 5 bucks and a new, slick set of feet for $2. But after all these hours of gaming (and some work) it’s showing signs of wear. Mechanically, it’s held up great, but the finish in a few spots has worn off leaving a somewhat rough surface at the palm and fingertip areas. So I decided before the past MML I’d refinish it.
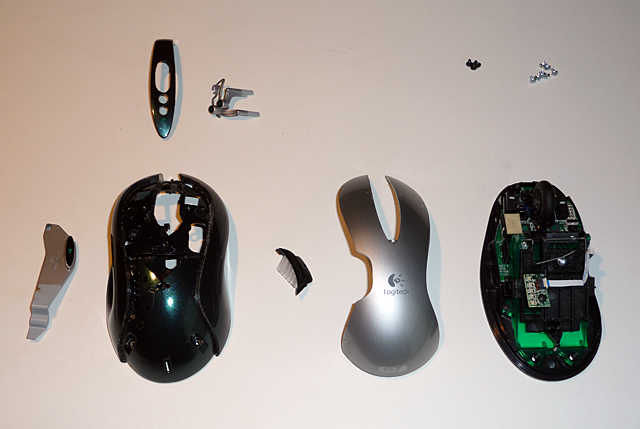
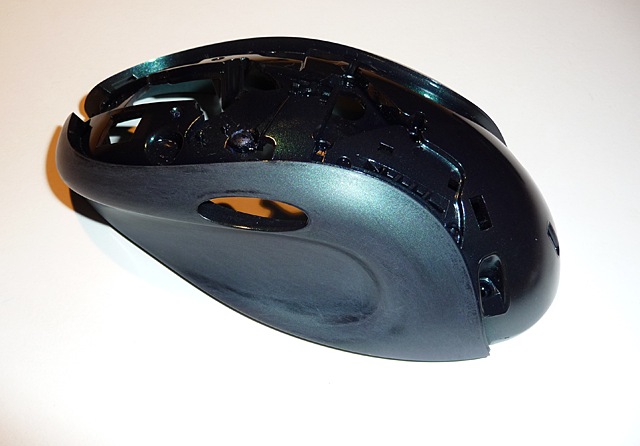
I started with taking it apart and cleaned it up. There were 3 pieces that needed painting (since I didn’t care to repaint the bottom. To remove any dirt and oil from the three pieces I give them a wash in dish soap, then a thorough rinse. Then I used a small piece of 400 grit sandpaper to remove the former glossy coating and smooth the areas that were roughly worn. Then I donned a pair of latex gloves and gave them another rinse, dry, and then used a swab of mineral spirits to remove any last residue.
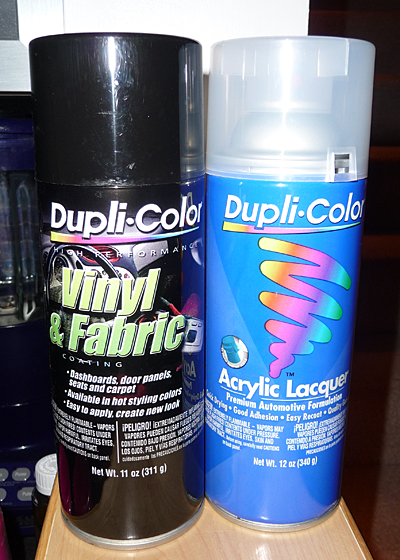
I decided to use Dupli-Color’s gloss black Vinyl & Fabric Coating. This stuff (also known as vinyl dye) is unlike usual spray paints. Instead of making a coating over a surface, it sinks into the object, and because of that it’s more flexible and durable. From what I’ve read, vinyl dye is the nicer way to plaint most plastics and especially any that will be handled a lot. I thought about using multiple colors and stencils, but opted to keep it simple and go with gloss black and clear coat. The clear coat to use is Acrylic Lacquer, not the Enamel Lacquer they also make.
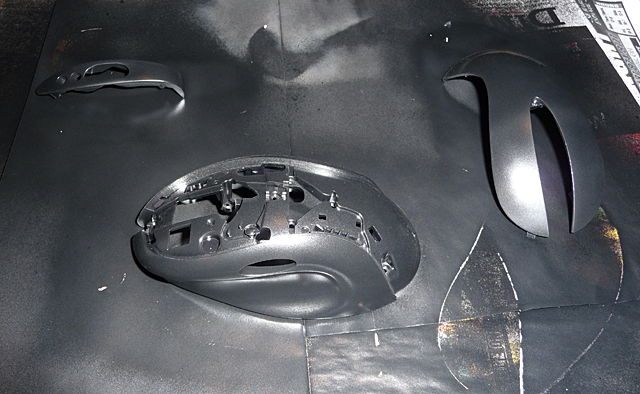
Thin coats are key since it can easily run and there’s no need to pile up a think coating (since it’s going to sink in anyway). I started with about 3 black coats, then wet sanded with 800 grit, and repeated the process. After that, I sanded and coated the center piece one more time. You only need to wait about 15 minutes between color coats so the whole process doesn’t need to take too long. Once the black had time to dry very well, I started with the clear coat. After about 3 thin coats I wet sanded with 1000 grit and finished with two more coats.
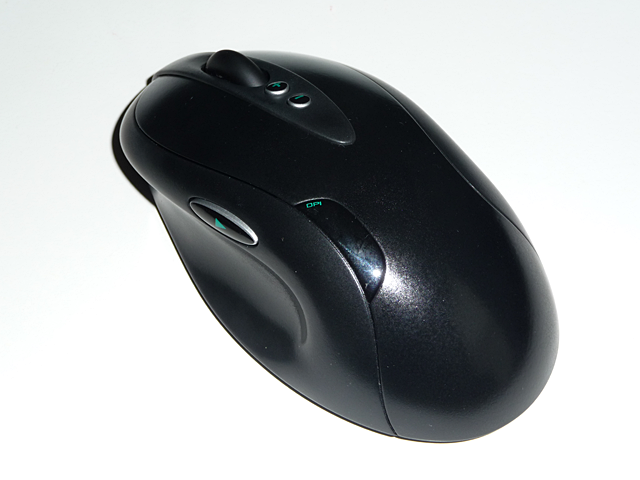
After re-assembly (with new feet!) I let the whole thing sit for a week before using it. I even put it out in the sun a couple afternoons to really cure it. The final result is like a new mouse. By varying the number of coat-and-sand cycles I got a nice subtle distinction between the center and the sides. Maybe next time I’ll go for something more graphic.
Tags: Comp hardware / mods


http://www.youtube.com/watch?v=ntzCi1lu2ys